Flush Rod Mounts
Fitted behind Oval Gaspachi Hatch.
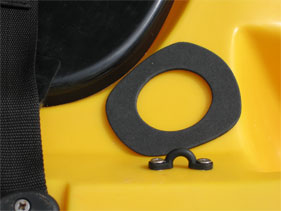
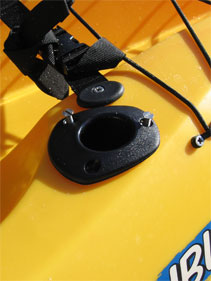
Behind the Oval Gaspachi Hatch is just enough deck space to accommodate a pair of Flush Rod Holders. Perfect for dropping the rod in when fishing two up, baiting up or changing a rig. The boys at Ocean Kayak have even placed a pad eye beside the chosen area for clipping the rod leash too.
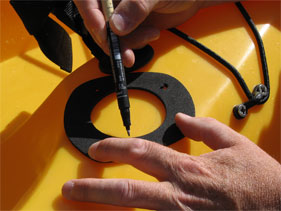
First job is to make a template of the head of the flush mount, the one shown in the picture above came with the flush mount and is made of a high density foam. One can easily be made from cardboard.
Cut a hole in a sheet of cardboard, it needs to be large enough to accommodate the shaft of the holder, force the cardboard to shape so that the holder is sitting flush to the cardboard, mark the new shape (oval), remove holder and re cut, check fit and adjust if necessary. Finally draw around the head of the mount and cut out.
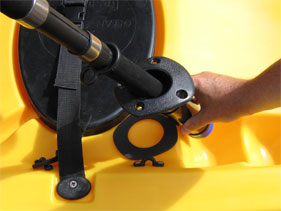
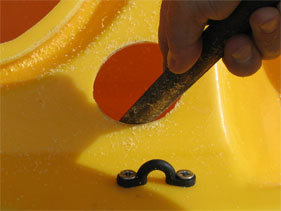
Place the template in the chosen position and ensure that the shaft of the holder won't interfere with any of the deck mouldings, also check angle of rod by slipping in a rod handle.
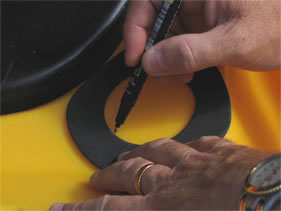
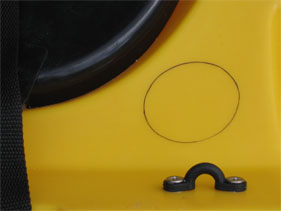
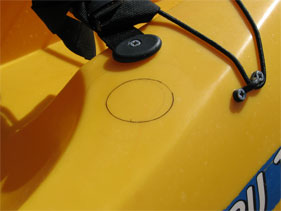
When happy with the position draw around the inside of your template. I have used a fine permanent marker as it is easier to see when cutting.
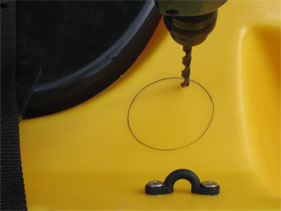
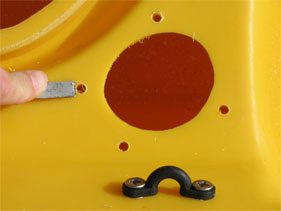
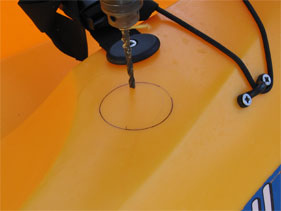
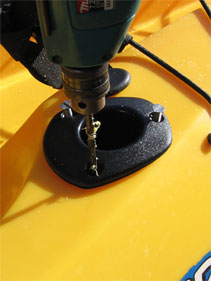
Drill a hole to accommodate your jigsaw blade and cut out close to the line with jigsaw. If the deck moulding gets in the way whilst cutting then just cut as close to the line as you can.
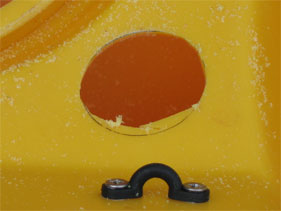
To finish cutting out the hole I manufactured a saw with a hacksaw blade and a piece of foam for a handle to make cutting a little more comfortable. Once cut out, clean up to template line with a file.
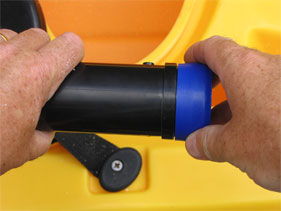

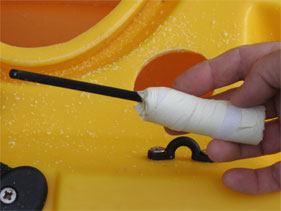
Due to the depth of hull in this area it was necessary to shorten the rod holder to allow it to fit. Remove the cap from the end of the shaft if fitted.
We had to remove 25 mm from the shaft. Clean up the end of the shaft, refit the cap and hold in place with a cable tie.
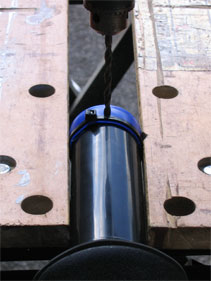
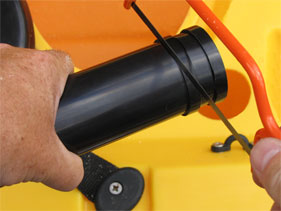
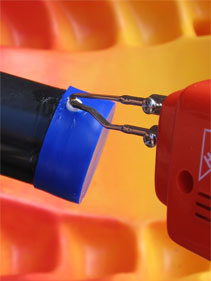
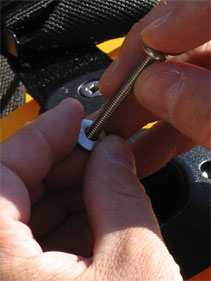
Clamp mount horizontally and drill 7 mm hole right through cap and flush mount and out opposite side, it may be advisable to drill small pilot hole to get started.
Remove Cap and cable tie, clean up the holes with a file or glasspaper, removing any burrs.
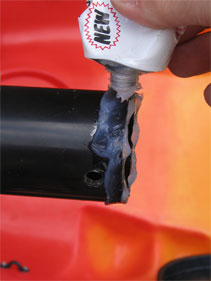
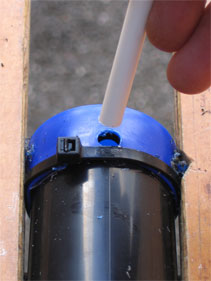
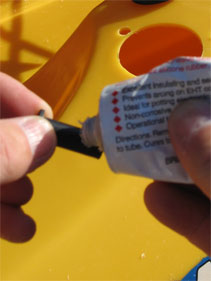
Add a good covering of silicone sealant adhesive around the base of the shaft and refit cap. Push 7 mm plastic dowel (hollow type is cheaper) through cap, shaft and out opposite side until 2 mm of dowel is showing. Trim off dowel leaving a couple of millimetres either side of shaft.

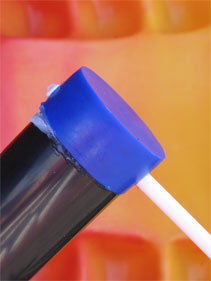
Using a soldering iron, carefully melt either end of the dowel, do not touch cap as this will melt very easily. This dowel will prevent the rod handle from pushing the cap off the end of the shaft and risking flooding of the hull.
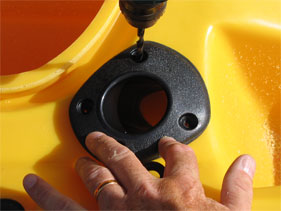
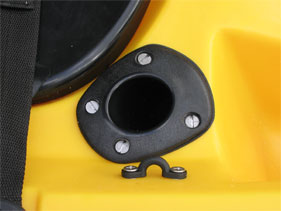
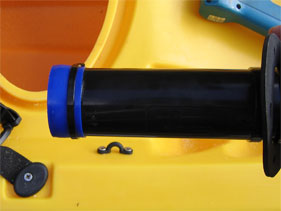
Refit flush mount into deck, hold in position and drill first hole to accommodate M6 (25mm) counter sunk bolt, screw in bolt and drill opposite hole, fit bolt, then drill last two holes.
Clean up holes with sharp blade or glass paper.
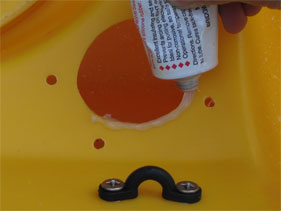
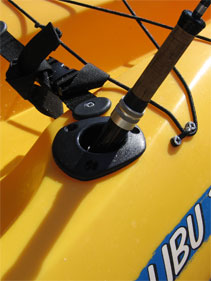
Squeeze a bead of sealant around the deck hole and bolt holes. Fit Flush mount and secure. Wipe any excess silicone sealant with wet finger. Wash hands immediately afterwards.
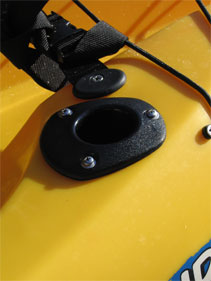
Flush Rod Mounts
Fitted behind Rear Seat.
Behind the rear seat moulding there is room to fit a further two flush mounts, for this position we have used Ocean Kayaks Flush Mounts which come with all the necessary fittings, namely bolts and wellnuts.
Using your template decide on the position and angle required ensure that the shaft will not interfere with the hull moulding. Also check that the rod angle will not hinder your paddle stroke.
Mark position, drill and cut, file the hole until mount sits flush to the deck, re check rod angle and make any fine adjustments.
Hold rod holder in position and drill first hole to accommodate one of the bolts, screw in bolt and drill second hole, fit bolt and drill final hole.
Remove bolts and holder, redrill holes to accommodate the well nuts add a small amount of silicone sealant adhesive to each of the wellnuts and place in holes; squeeze a bead of silicone around the top of the shaft before removing the gasket cover.
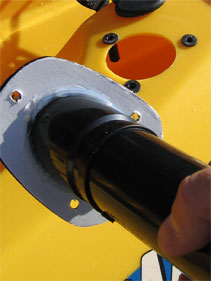
Remove gasket cover and fit holder in position, fit washers rubber side down onto the bolts and fit to flush mount, tighten each bolt in turn.
Wipe away any excess silicone sealant with wet finger. Wash hands immediately afterwards.
Disclaimer:
Installing hardware may cause damage and/or void manufacturer warranties.
The information we provide is a free reference guide only. The author of this information, sponsors and the owners of the website that host this information are not liable for any problems or issues that arise from the use of this information. Users of this information hereby acknowledge that all use of this information is done by their own free will, at their own sole risk, understanding that injury or death could occur.