Fitting a Gaspachi Hatch
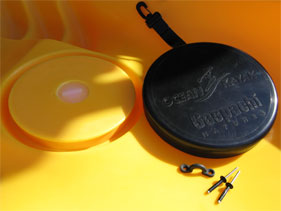
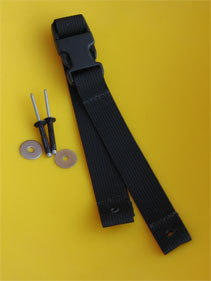
The Gaspachi round hatch kit comes complete with tether strap, pad eye and a pair of rivets. The pad eye and rivets will be required if fitting the front hatch on the Malibu 2 XL, but here we are concentrating on the rear round hatch which has a D-Ring already fitted.
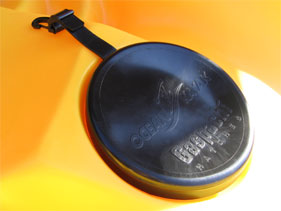
Before starting, ensure that the hatch fits the moulding. The first time you fit the Gaspachi hatch it will be an extremely tight fit, it's not important that it seats completely at this time, just that it feels secure.
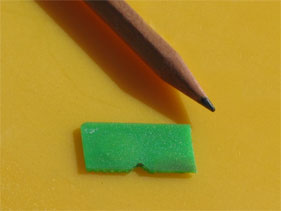
Cut a small piece of card, plastic or wood to aid drawing the circle template, on one edge cut a small V, from the point of the V to the outside of the template marker should be a minimum of 15mm.
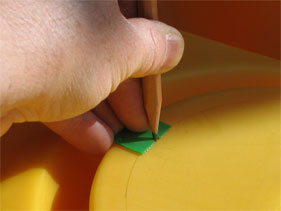
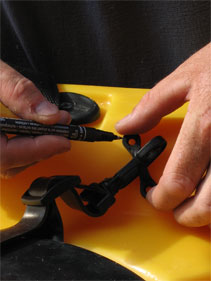
Place the flat edge of the template guide on the outside of the hatch moulding, hold the tip of the pencil in the V. Squeeze the template guide between the pencil and your fingers, your fingers should run around the outside edge of the moulding, leaving a circle marked 15mm from the edge of the moulding.
Take care with drawing the circle, if it does not look perfect then rub out and redraw.
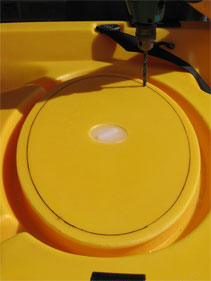
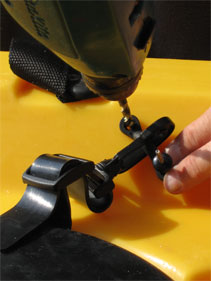
Drill a hole inside the circle to accommodate the jigsaw blade, the blade should be a thin type capable of cutting with a fine finish on a tight curve.
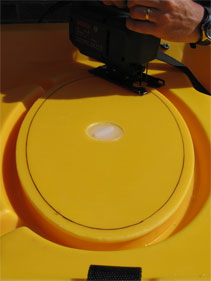
Cut close to the inside of the line, if the jigsaw has a variable speed, put on a slow setting as this will make it much easier to follow the line.
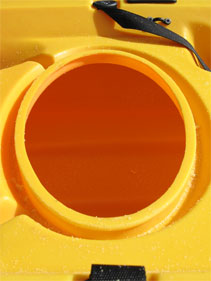
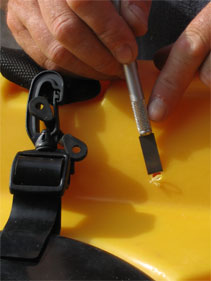
You may get a small lump in the circle where the waste drops off. Use the bevel side of a file to smooth, you may also need to run the file around the inside edge to clean up if you cutting is not very smooth.
Finish off with 180 grade glass paper, ensuring that there are no sharp edges on both the inside and outside of the hole. Clean up the hatch area.
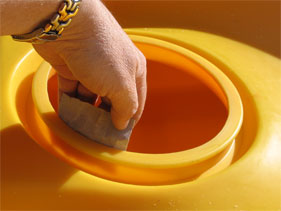
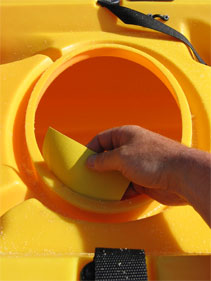
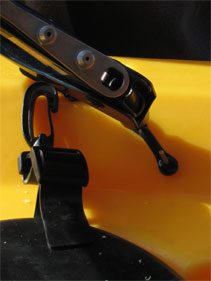
Finally clip the hatch cover tether strap to the D-Ring and work the hatch onto the moulding. The first time it will probably take a lot of effort, keep working around the edges until the hatch fits neatly over the rim, this was the hardest part of the fitting.
Once on, leave the hatch fitted and always leave in place during storage, the hatch should stretch and become easier to fit given time.
Fitting an Oval Gaspachi Hatch
The method of fitting the Oval Gaspachi Hatch is identical to the Round Gaspachi Hatch so please follow the instructions above, we have however included a series of pictures showing step by step fitting of the Oval Gaspachi Hatch below.
Due to the size of the hatch the kit comes with an added security strap to ensure the hatch is secure at sea.
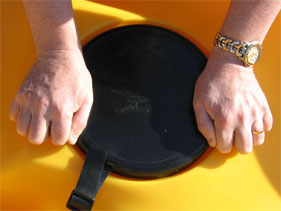
Before cutting any holes, check that the Gaspachi cover fits the hatch moulding securely, if the cover is loose it is not advisable to fit.
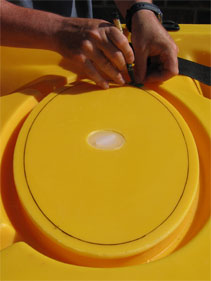
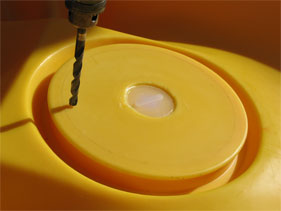
Marking out and drilling hole on inside of line to accept jigsaw blade.
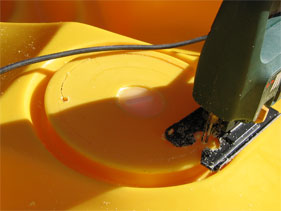
Cutting out with jigsaw and the hole prior to cleaning up.
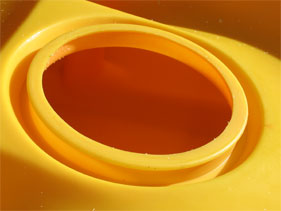
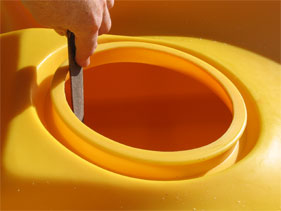
Cleaning up edges, inside and out with 80 grit paper.
Marking and drilling strap eye for tether strap. After drilling first hole, insert rivet
part way before drilling second hole. To ensure alignment drill through strap eye.
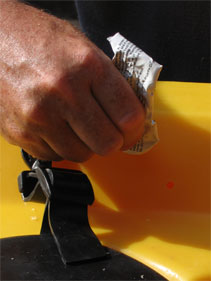
Cleaning up holes and adding sealant.
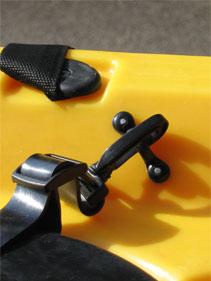
Tightening rivets, job done.
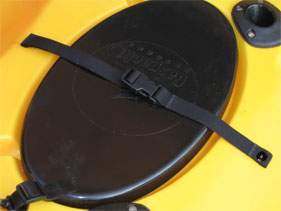
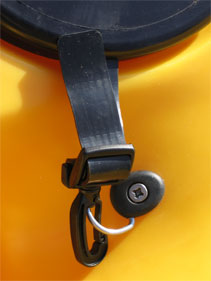
Oval Gaspachi security strap fittings and in position.
(This has not been fitted to the AnglersAfloat Project Malibu Two XL, see Fitting Central Cargo Net, our alternative method.)
Disclaimer:
Installing hardware may cause damage and/or void manufacturer warranties.
The information we provide is a free reference guide only. The author of this information, sponsors and the owners of the website that host this information are not liable for any problems or issues that arise from the use of this information. Users of this information hereby acknowledge that all use of this information is done by their own free will, at their own sole risk, understanding that injury or death could occur.